WP Plugin: Contact Form 7

http://wordpress.org/extend/plugins/contact-form-7/

Installation:

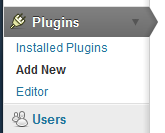
Step 1:  Dashboard->Plugins->Add New
image

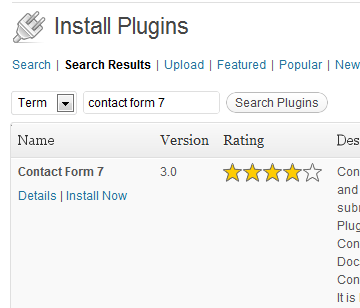
Step 2: Search for “Contact Form 7”.  Should be the first result

image

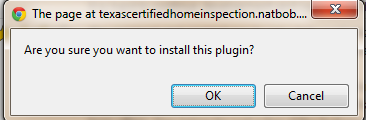
Step 3: Click “Install Now” and click “OK” in the dialog confirming this choice:

image

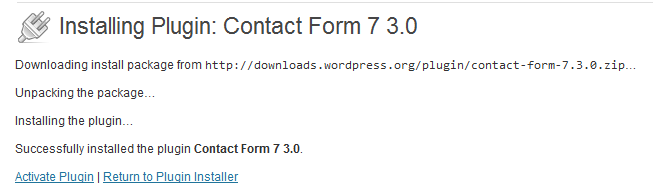
Step 4:  Click “Activate Plugin”

image


Configuration

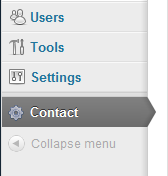
Step 1: Click on the newly added “Contact” area on the left navigation bar:

image

Here you can create a form to be displayed on your site.  It provides a default form that will be useful in 99% of the time.  

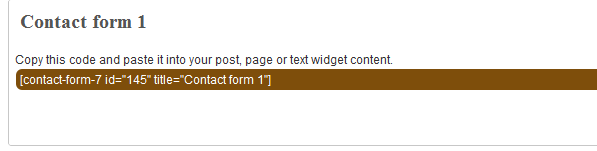
At the top it has the code that you need to put on the page or post that you want the contact form to appear.  Just copy and paste this code:
image

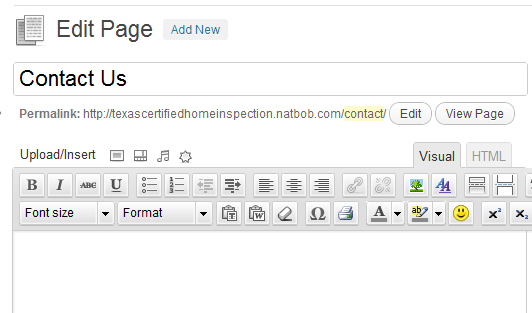
Now go to the page that you want to add the contact form.  I have created a page with the title “Contact Us” for this purpose.

image

image

image

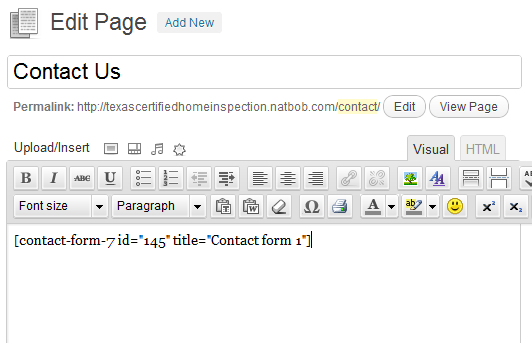
Now just paste the code from the contact form here:
image

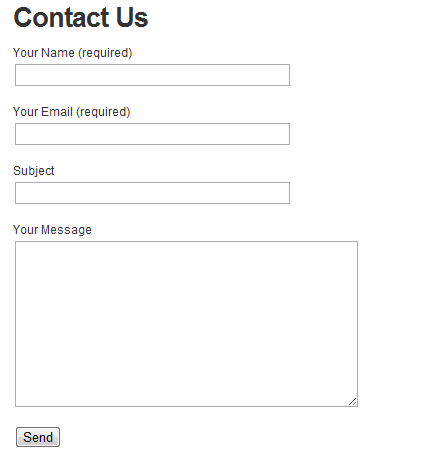
Click the “Update” button and then view the form on your site:
image

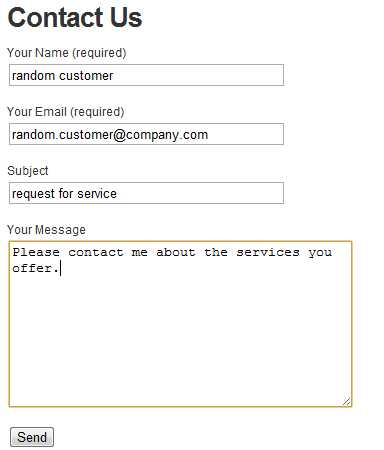
When you fill it out and submit it, it will be sent to the email address listed in the “contact” settings page where we had copied the code from.
image

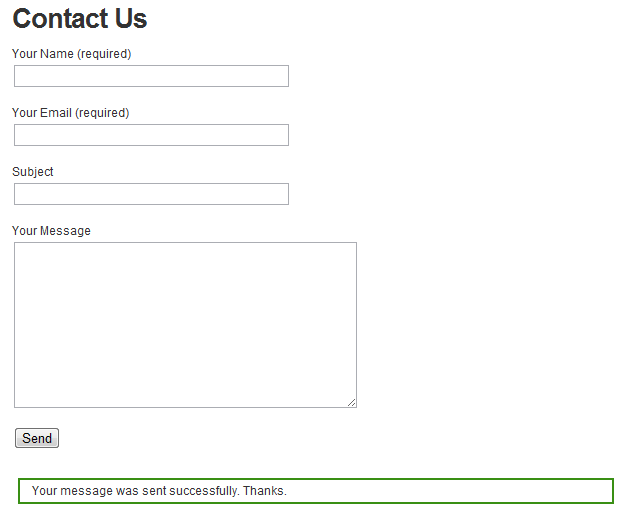
After clicking send a little message appears:
image

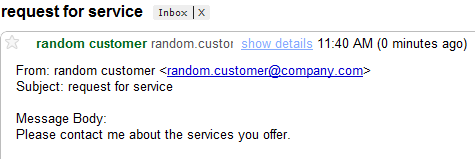
And sure enough, an email appears in my inbox:
image

Customization

My first use for this contact form is for a home inspector.  What are some things that a home inspector would like to know?  How about phone number and address of the home to be inspected.  Also, it doesn’t make sense to have the customer put a subject, so we will remove this.

Go back to your admin screen and go to Contact:
image

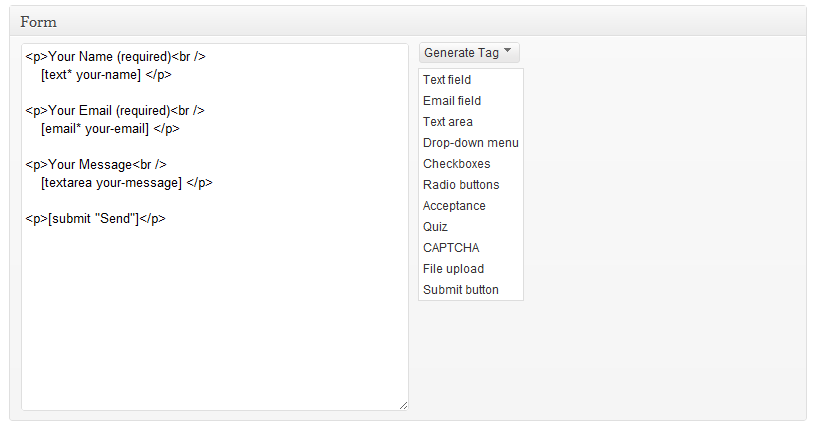
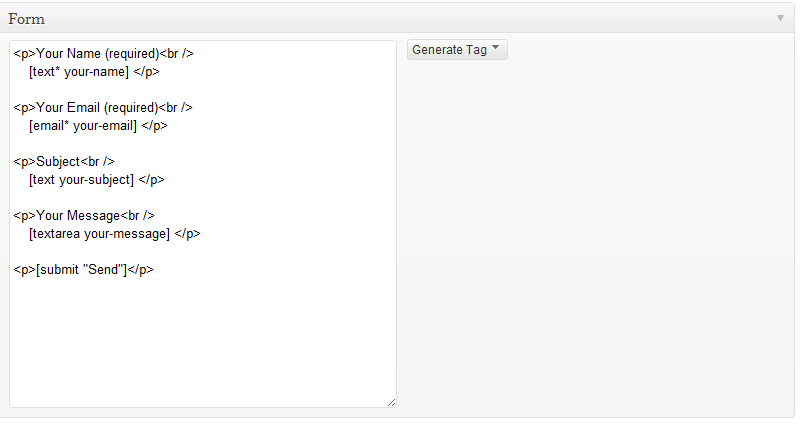
Look for the place where the form is defined:
image

The first step is to remove the “Subject”:

<p>Subject<br />
    [text your-subject] </p>


Should look like this now:
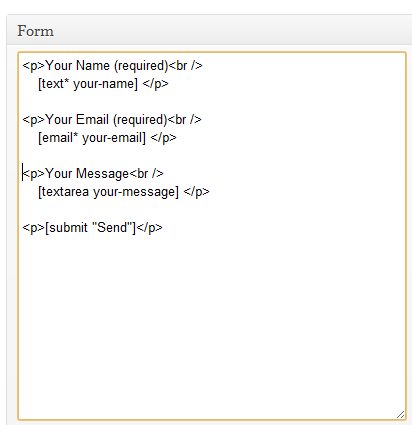
image

Let’s go ahead and add a place for phone number just below email address:

Step 1:  Click on the blank line above the “Your Message” line.

Step 2:  Click on the “Generate Tag” button on the right and select “Text field” on the list that is displayed:

image

Step 3: Fill out the attributes of this new field.  It starts out with some default values like this:
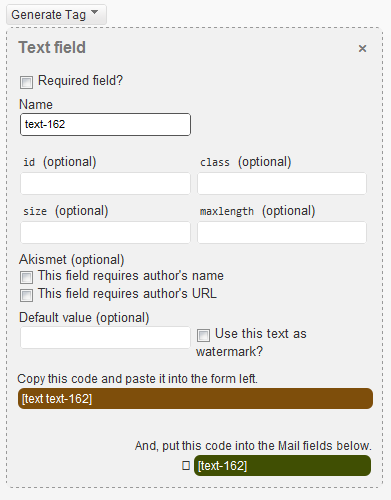
image

Let’s make these changes:

Required Field: <checked>

Name: Phone-Number

Once you make these changes, it will look like this:
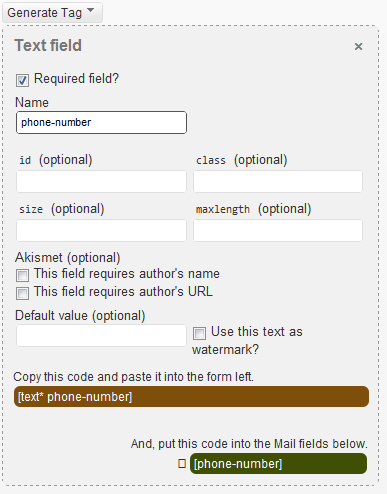
image

Now, copy and paste the codes indicated to the right places, and add some formatting codes.  I would make the top part look like this:
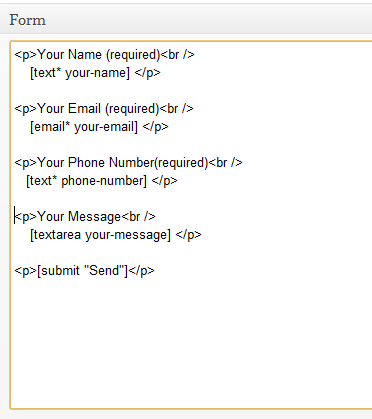
image

And make the bottom look like this:

image

Now let’s add the property address and not make it a required field.  This can be done by change the form code to look like this:
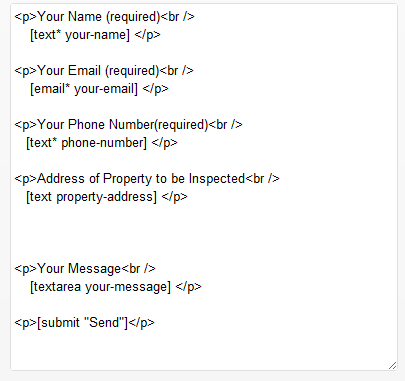
image

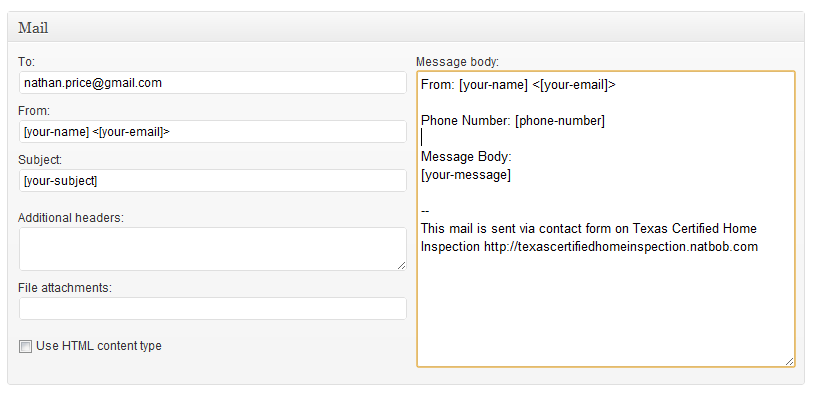
Change the email part to look like this:
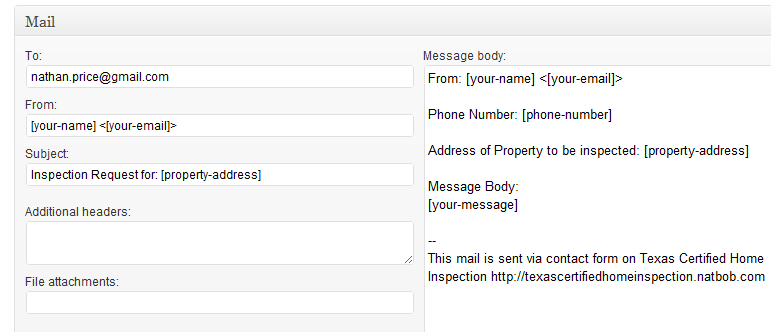
image

Scroll back up to the top and click “save”

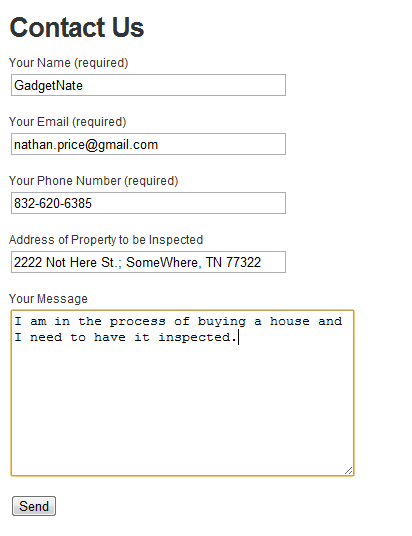
Go to the front of the site and see the results:
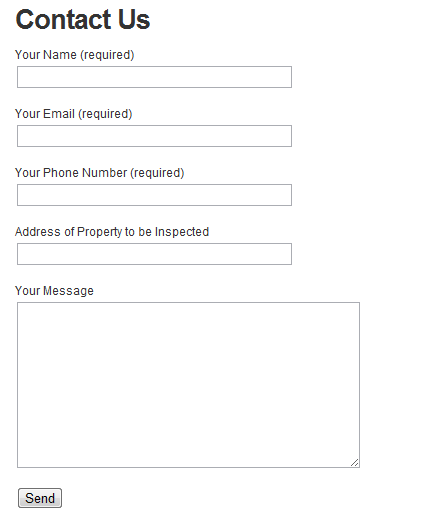
image

Give it a test:

image

Worked as expected:

image

TinyMCE Advance WordPress Plugin

Did you ever want to make changes to the editor window in WordPress?  Then the TinyMCE Advance WordPress Plugin is for you!

When you first start WordPress, the editor window provides very minimal options:

image

(The “ABC” with the checkmark was added by the After The Deadline plugin which provides proofreading support.  And the last item was added by the WP-Tables Reloaded Plugin)

Clicking on the expand icon:

image

will reveal another row of options:

image

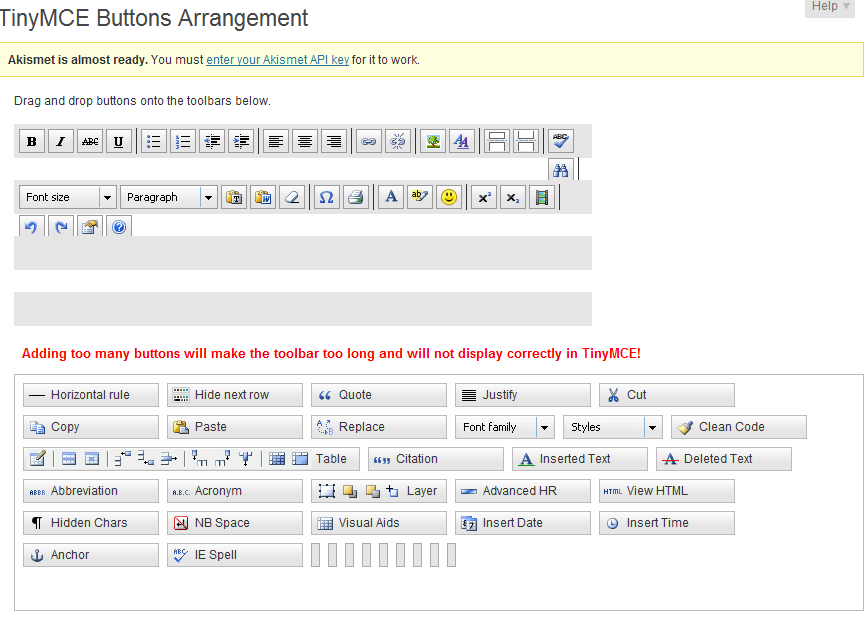
The TinyMCE Advance WordPress Plugin will add an option under “settings” for “TinyMCE Advanced”.  This will allow for you to completely alter this and to add many, many more options:

image

I’ve added the Table set of functions.  I found that it did not work when I had WP-Table Reloaded installed.  But when I deactivated WP-Table Reloaded it worked fine.

image


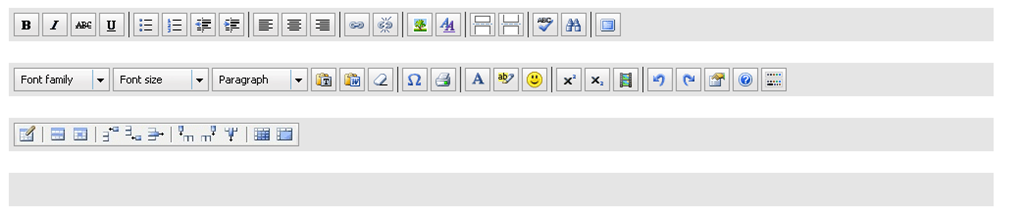
And now when I enter a new post here are the options I have:

image

Photoshop 5.5: Measurement Log

The measurement log is a great idea.  Being able to do multiple measurements (Analysis->ruler tool; measure; and click “record measurement).  And it is great that it automatically labels the measurements “Ruler 1”, “Ruler 2”, etc..  but is it possible to change the label?  Also, is it possible to see where you had measured before?

image

Magazine Themes to Use for Woman’s Insite


Best Free Magazine WordPress Themes

Arthemia Free Theme (Premium Version Also Available)

Source | Download | Demo | Premium Version of Arthemia


Mimbo Theme

mimbo3

Source | Download | Demo


Morning After Theme

Morning After Theme

Source | Download | Demo


Small Magazine Theme

Source | Download | (Unable to Locate a Demo)


Premium News Theme

Source | Download | Demo

ZinePress WordPress Magazine theme

zinepress-wordpress-theme

Live Demo | Download


The Web News

the-web-news-theme

Live Demo | Download

WP-Plugin: Slick Social Share Buttons [Recommended]

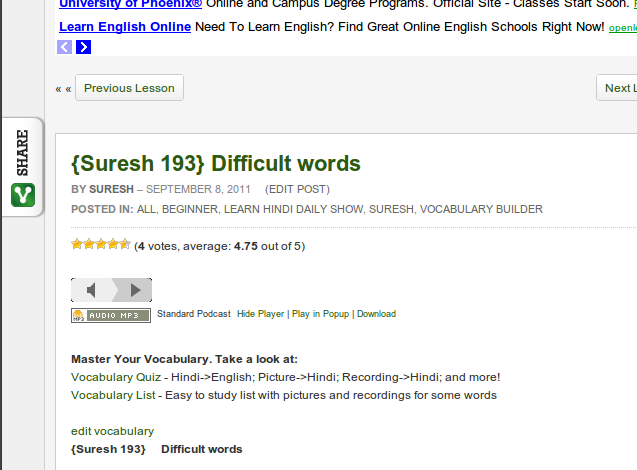
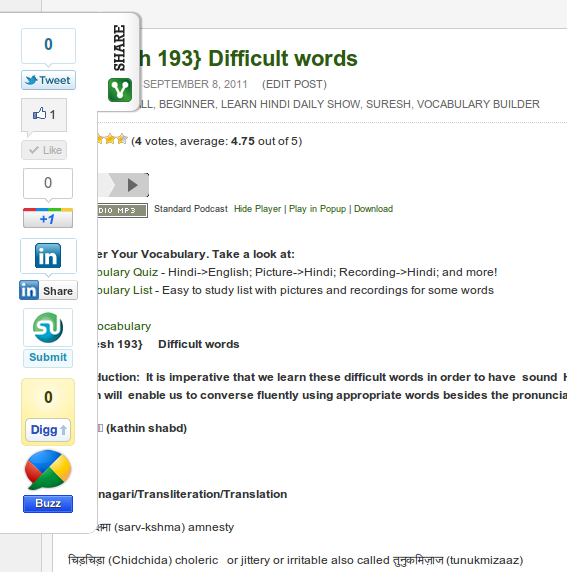
The Slick Social Share Buttons is my recommended solution for adding the “Tweet”, “Like”, +1, stubleupon, digg, InShare, and Google Buzz links to your WordPress site.  I installed it on ISpeakHindi.com, and had it looking good with my theme in less than 3 minutes.  Here is how it looks in it initial state:

This is the activated state:

Slick isn’t it?

There are many different options on where to put it.  By default it floats as a “share” button in the upper right of the screen.  I changed the type from “floating” to “Slide out”.  The Location to “Left”.  And increased the offset to 200px.

You can also control where on your WordPress site it shows up.  For me, I think it only makes sense to show it on “posts” since I want to encourage sharing of individual lessons to get some deep links into my site propagated into the social spheres.  But you can also have it for the “home page”, pages, “category pages” and “archive pages”.  You also have control on which social services to show and options on how they are displayed.

I initially had trouble with the “Facebook Like” button.  I would click it, the number of “likes” would increment, the facebook like comment box would display.  And within a second, the box would disappear and the number of likes went back to zero.  I found that when I changed the “Facebook” option from “xfbml” to “iFrame” I no longer had this problem.

Convinced?  Log into your WordPress dashboard.  Go to Plugins->Add New.  Then search for “Slick Social Buttons”.  It should be the first one that comes up.  If you get multiple results look for the one by Lee Chestnutt..

You use a different social share plugin for WordPress?  Leave me a comment that includes the name of the plugin, the site you use it on, and why you like it.


TeleScrapbook

Teaching kids the basics of electronics and programming is something that I have been working on doing through my GadgetCamps.  The GadgetCamps is 100% hands on.  Hooking up circuits, typing in code, seeing how things work.  There are many ways to make things “hands on”.  The TeleScrap Book takes a unique approach.  And it is Arduino based!


TeleScrapbook from Natalie Freed on Vimeo.

More information available from:

Creator’s website – Natalie Freed

Make Magazine