Arduino on a BreadBoard and using the MRF24J40MA ZigBee module

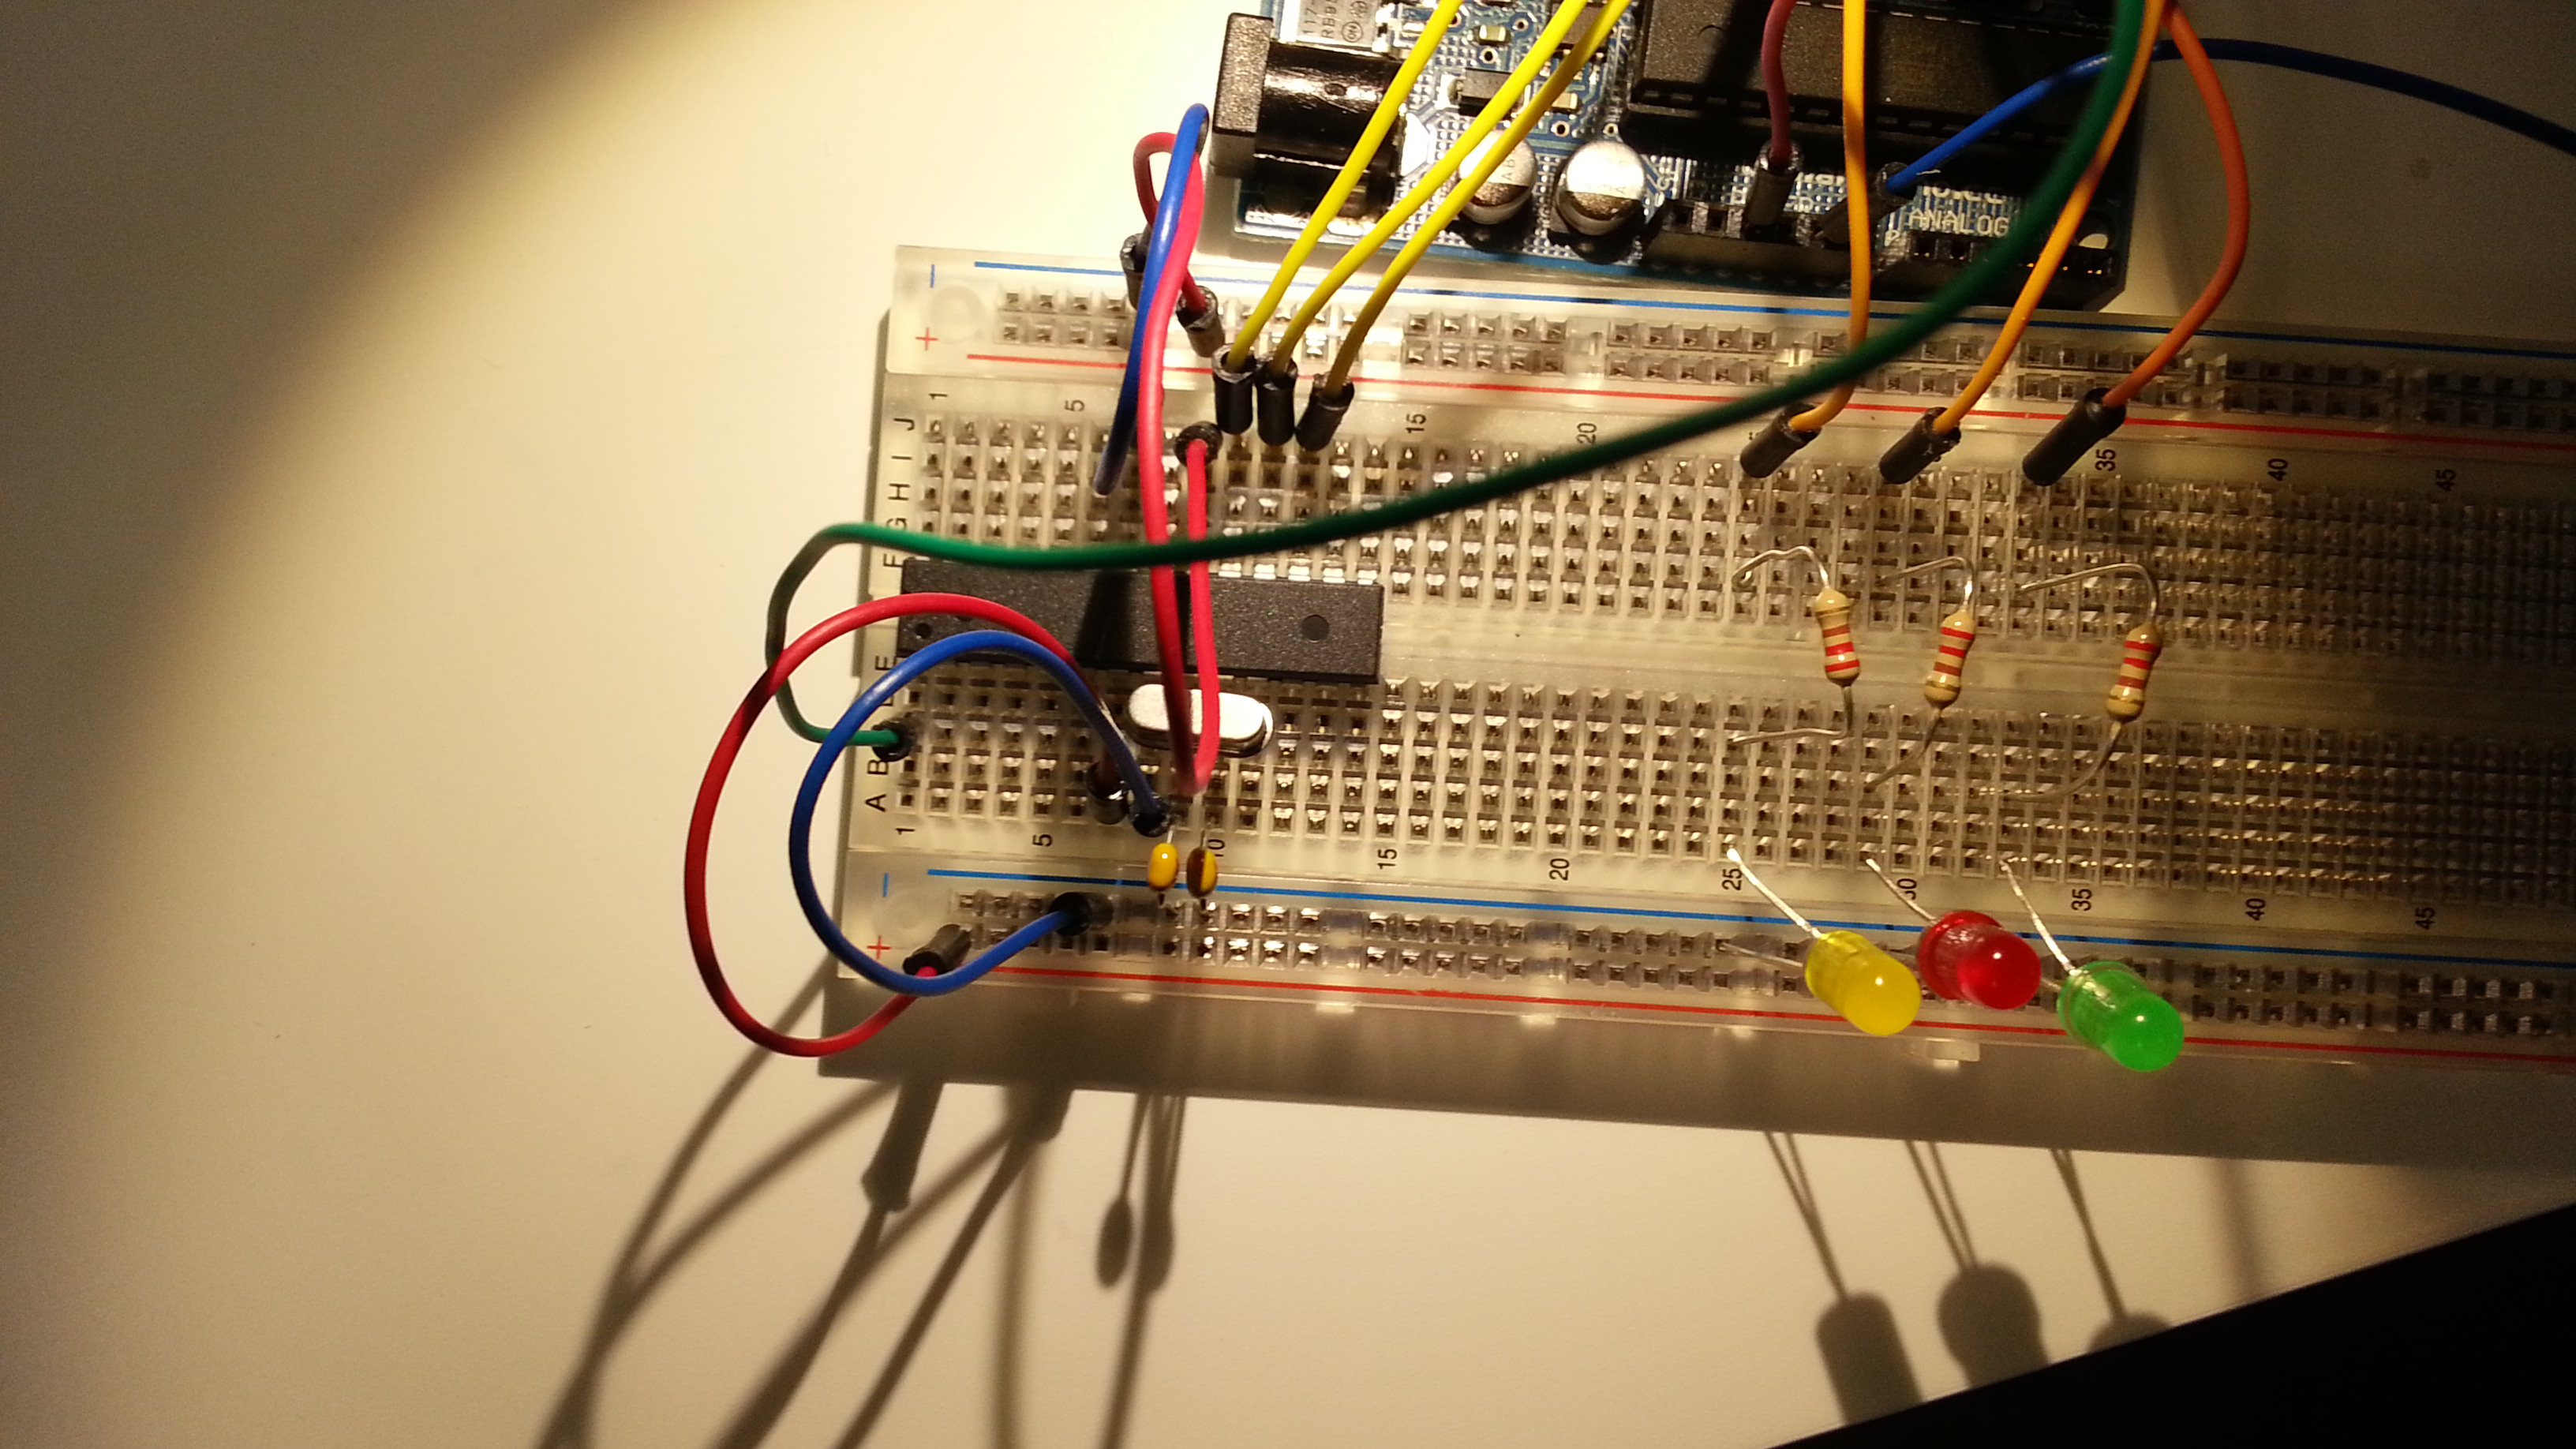
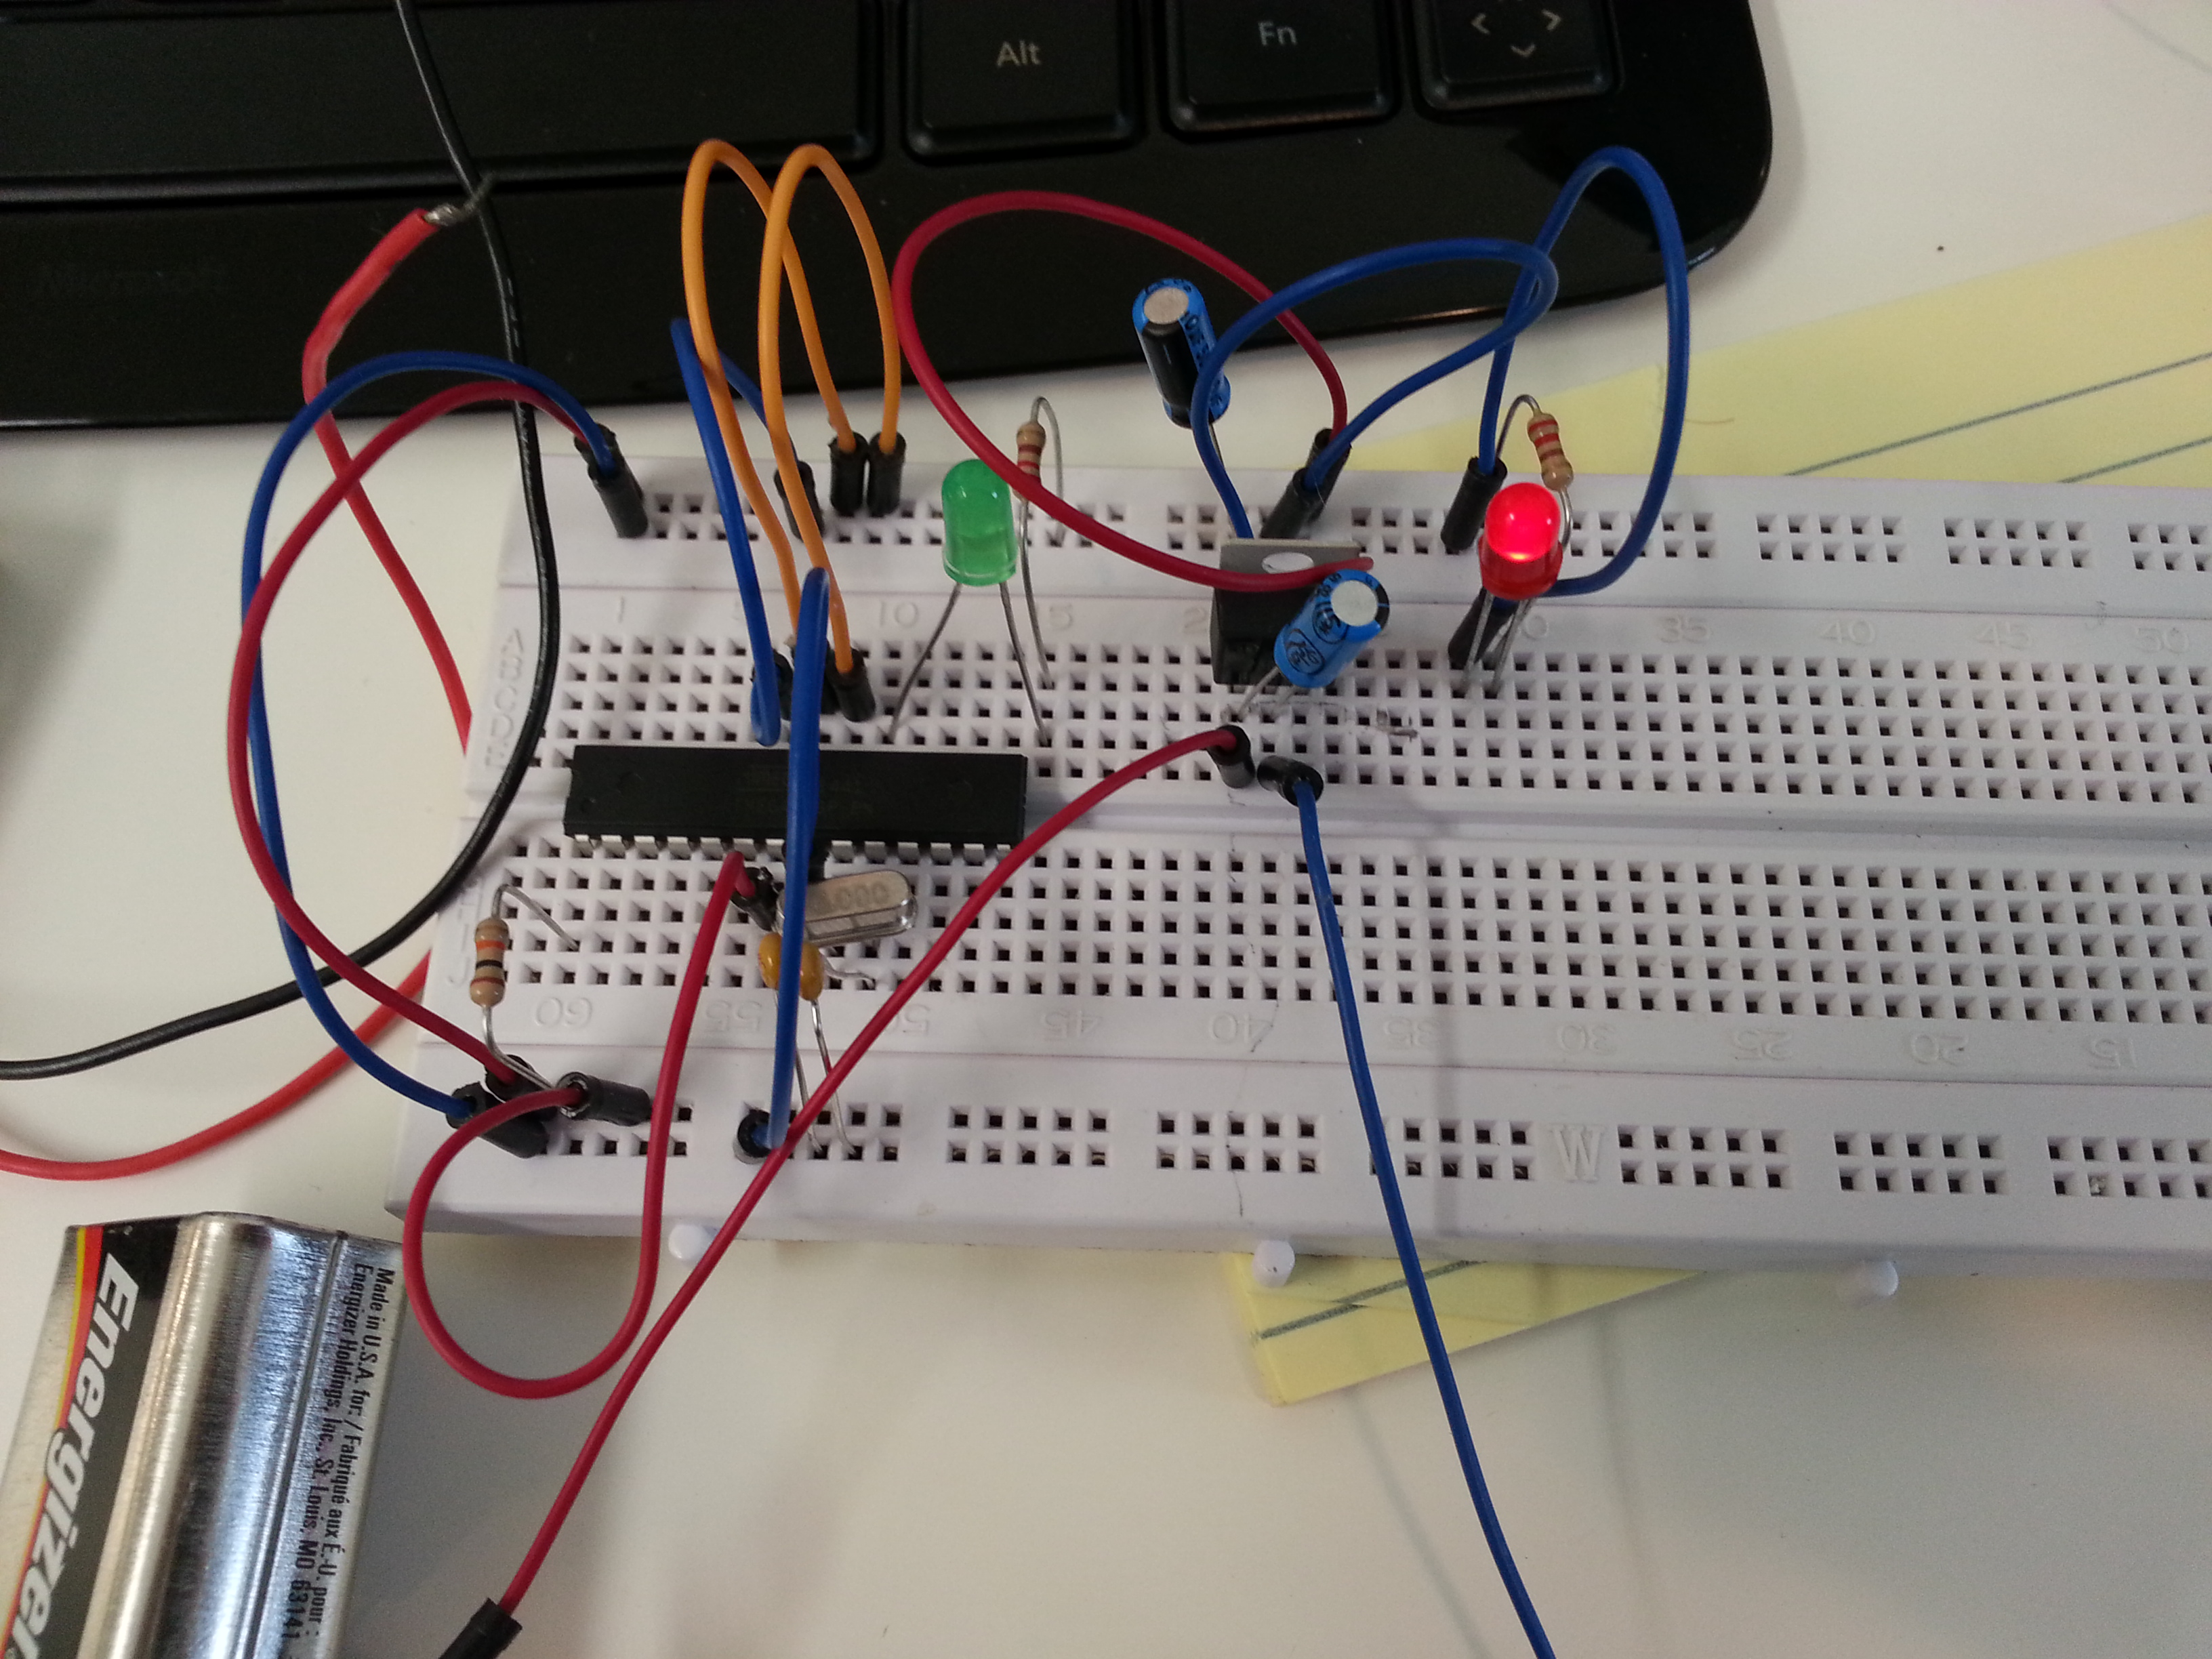
Two accomplishments today.  First, I was able to use the Atmel 328P chip outside of the Arduino board.  What is the benefit of this?  First, cost..  The Arduino UNO is currently $25 but the Atmel 328P is only $1,86 if you buy it on eBay, and only a few dollars more if you buy it from some place else.  However, you are going to need a few more components such as a 16MHz crystal, a few capacitors, resistors, voltage regulator, wires, and something mount it on..  All told, probably another $5.  Now you won’t have the nice board, the USB to serial converter, the 3.3volts power connection (could easily use two resistors to create a voltage divider to step the 5V down).  So it is not an apple to apple comparison.  But if you want to have these chips in a lot of little projects, then you are going to have a lot more options when the price gets to the $5-$10 range instead of the $25 range.


Also, you can compact the design down to just what you need.  You have more control over the final form factor.  And this is also a good step into the world of microcontrollers in general.  Before you know it, you will be programming the entire Atmel family of chips..


So, how to get started.  There were a number of really good tutorials that I looked through.:

arduino.cc/en/Main/Standalone

Here is the configuration I used to burn the boot loader onto the Atmel 328P.
20141118_122457
To program it I just inserted it into the Arduino, downloaded the program, and then removed the Atmel 328P.
Here is the configuration I have it to run the “Blink” Example  (This is the “hello world” of arduino)
20141118_122955
My other accomplishment today was getting the MicroChip MRF24J40MA module working with two Arduinos.  Starting out small, I have it so you can press a button on one arduino and a LED comes on the other:  (It really needs to be shown in a video.  I hope to upload one in the next few days)
20141118_164112 20141118_164119 20141118_164336 20141118_164339


Here is some more info about the module and how to use it:

Data sheet:

Information about data interface is in the datasheet for “MRF24J40 IEEE 802.15.4™ 2.4 GHz RF Transceiver

Data Sheet” (DS39776)http://ww1.microchip.com/downloads/en/DeviceDoc/39776C.pdf

Great Example of how to use it:
Now I would like to be able to combine the two above so that I only need the Atmel 328P and the MRF24J40MA module.  Then I will hook up some sensors (light, temperature, humidity, gas, accelaramotrs, etc.)  Then I plan to have some of these modules through out the house feeding data into a central unit that then is loading it into a database.  Then I will be able to see how different parameters of my house changes over time.  I think I should be able to have a working prototype up by the end of day tomorrow.

One thought on “Arduino on a BreadBoard and using the MRF24J40MA ZigBee module

  1. Nice work, I have try communication between 2 device (arduino+mrf24j40ma), but I can’t receive the message from the sender. Can you tell me how to resolve that ??? maybe you can send me your code to my email. I want to try that.
    Thanks so much….

Leave a Reply

Your email address will not be published. Required fields are marked *